I don't always use the same method to create bunkers because it depends on what kind of bunker I'm trying to create. I have developed a method that I like to use for most bunkers with only slight changes that I will explain here.
First we create any mounding we might want around our bunker. Then we'll do the elevation work on the bunker itself. Finally we'll create the bunker lip.
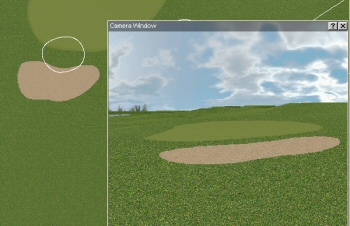
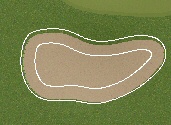
As an example we'll use this greenside bunker:
Mounding
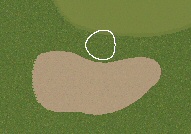
Draw a small shape in the area you want to mound just off the edge of the bunker.
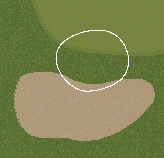
Inflate it by 5 feet so that the shape now extends over the bunker. You can just draw it that big to begin with if you want but I prefer to do it with the extra step.
Select it and use the hill tool to raise it as high as you want it. You'll need to exaggerate it a little to compensate for the smoothing. I'll go with 3 feet here and the final result will be about 2 feet high.
Now flatten it to maximum height.
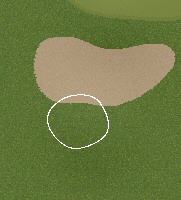
Inflate the shape by 15 feet. Adjust the shape manually if it is covering any areas you don't want affected by the mound. Leave some space when adjusting it because we'll inflate the shape again later.
Do a smooth with the shape selected. Set it 7 points to the right of the far left position.
Inflate the shape by 10 feet. Again make any adjustments to the shape if needed.
Do another smooth with this shape. This time only set it 5 points to the right of the far left position.
Look at how smooth the
transition
of the mound is now. If it still needs to be smoother, inflate the shape again and this time set it to smooth 3 points to the right of the far left position.
Delete the shape.
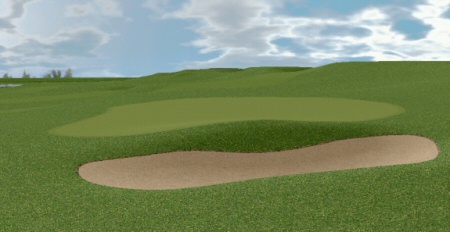
Repeat for any other mounds. I'll do another one on the other side of the bunker:
Bunker Elevations
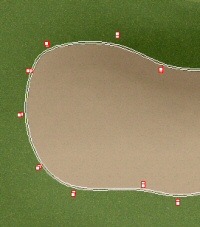
Right click on your bunker and select use as a shape.
Deflate the shape 5 feet. (If your bunker is small just go as small as you can.)
Right click on your bunker and select use as a shape again.
Inflate this shape by 1 foot. It looks something like this now:
Select the outer shape and flatten it to minimum height.
With only the outer shape selected use the bunker elevation tool to lower your bunker. How much depends on how deep you want it. I'll use 2 feet.
Now select both shapes and lower with the bunker tool again. This time it won't affect the middle of your bunker, only the area between the two shapes. I'll use 1.5 feet this time.
Inflate the outer shape by 10 feet.
Do a smooth with this shape. Set it 5 points to the right of the far left position.
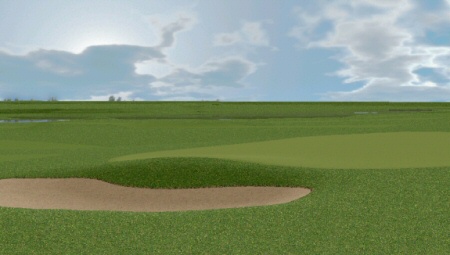
Delete shapes. You may need to do some additional smoothing if wrinkles are still visible. It looks something like this now:
Bunker Lip
Right click on the bunker and select use as a shape.
Inflate the shape by 4 inches and change it to your bunker lip texture.
Drop the shape.
Right click on the bunker and select use as a shape again.
Right click on the bunker lip you just dropped and select use as a shape. You may have to zoom in to see it.
With both shapes selected, lower 0.1 feet using the hill tool.
Delete the shapes.
Optimize the bunker lip on full optimization (all the way to the right, do not include children).